How many photos you have, and how much of the person lives in objects, maps or lettering, decides which of these 8 boards is yours.
Options run from a black tri-fold dressed with paper flowers in one evening to a hedge wall photo backdrop that suits a party-style gathering.
A pile of mixed snapshots from different decades suits grayscale film strips, a few keepsakes call for a shadow box, and a thin photo stash does well on an easel-mounted memorial sign.
1. Floral Border Tri-Fold Board
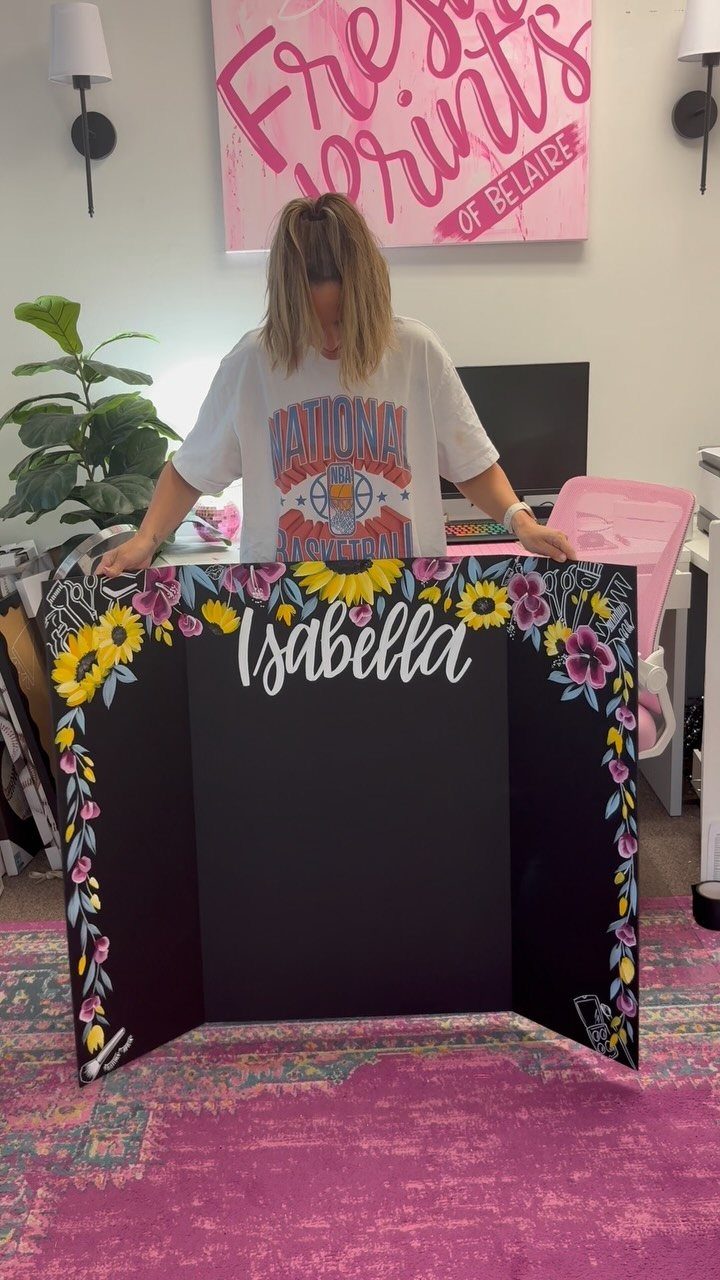
A black tri-fold board makes a strong base because light-colored photos stand out against it, and the folded sides let it stand on a table without an easel.
Bright floral borders soften the dark background, so the board feels warm instead of somber.
Put the name in cursive at the top, and keep the photos in the center panel so the sides frame them. A paper flower trim or a silk garland glued along the edges costs little and takes an evening.
I would choose this when time and budget are tight.
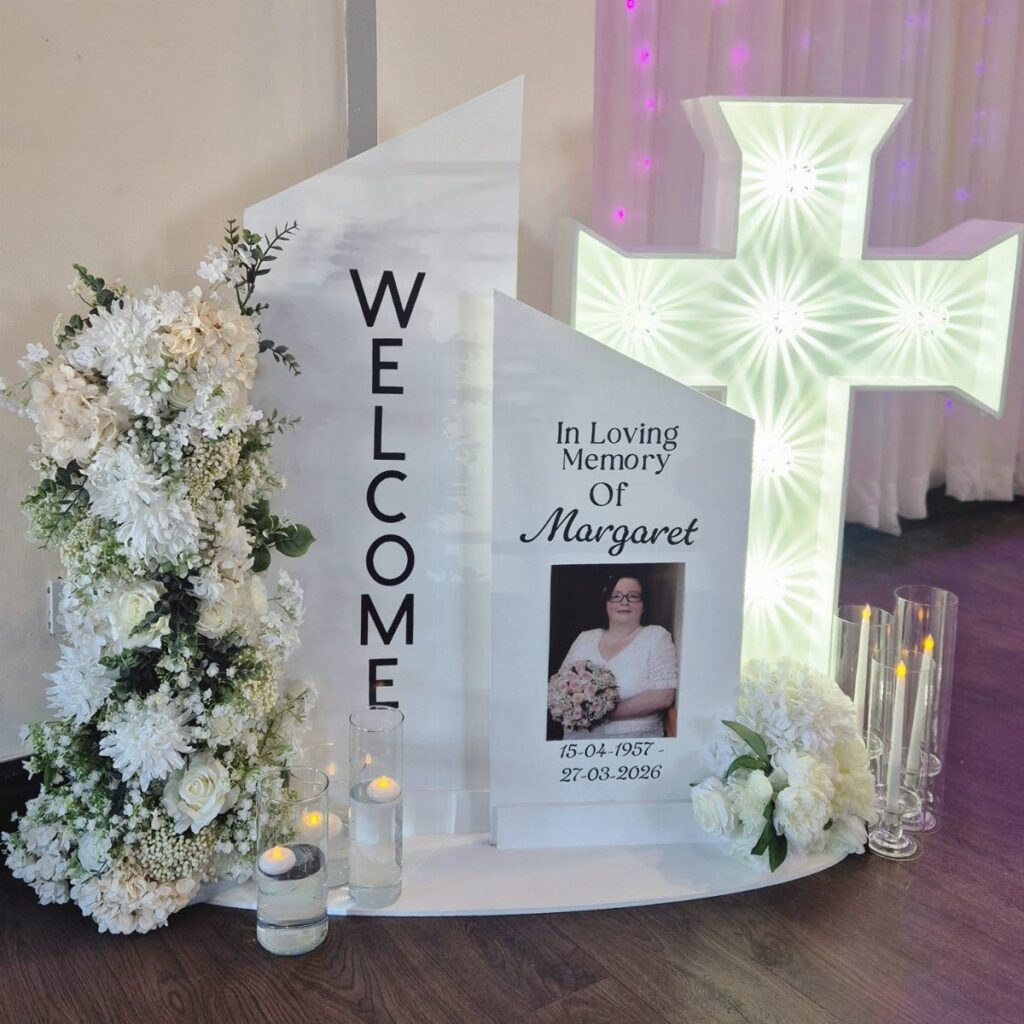
2. Easel-Mounted Memorial Sign
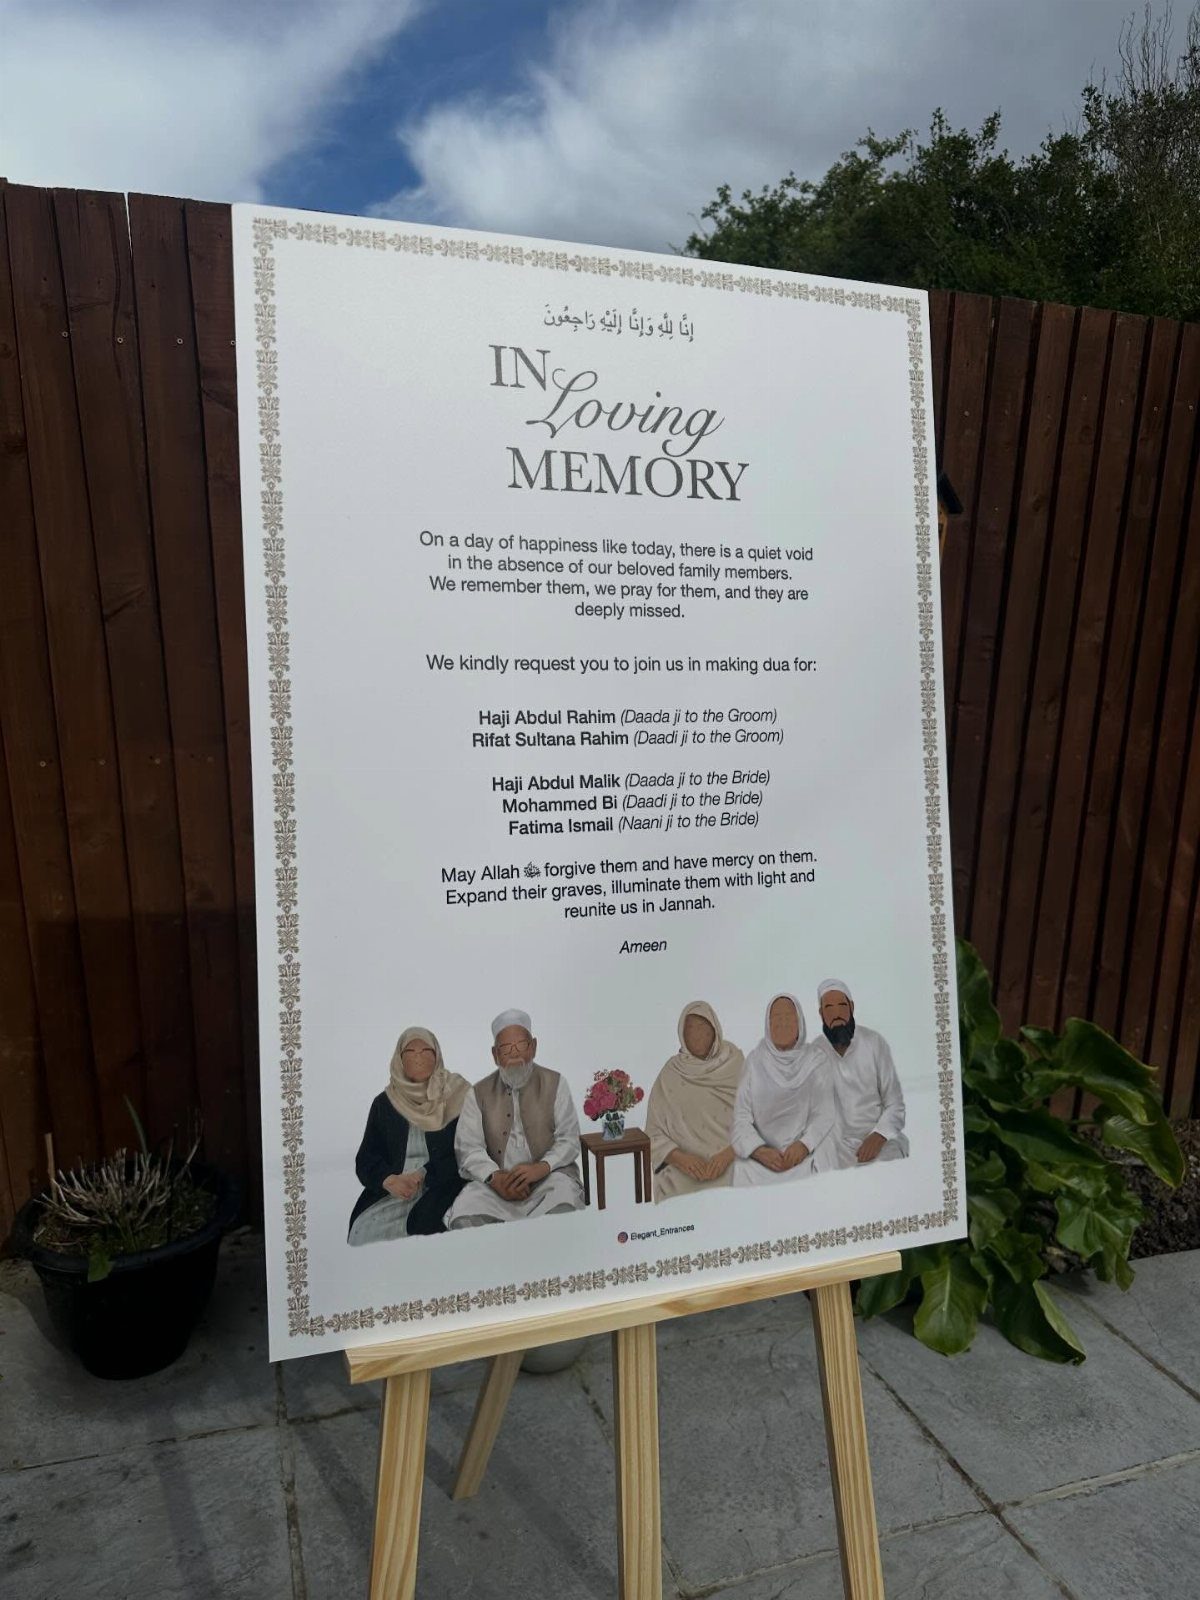
Text matters more than photos on a sign like this, and a white poster on a wooden easel gives you room to write names, relationships and several lines of tribute.
Custom illustrations, like the group portrait here, make the sign personal when you have few photos to work with.
Set it outdoors near the entrance so guests read it as they arrive. A wooden easel is easy to borrow or buy, and a printed poster is a low-cost shortcut when time is short.
3. Standing Photo Collage Boards
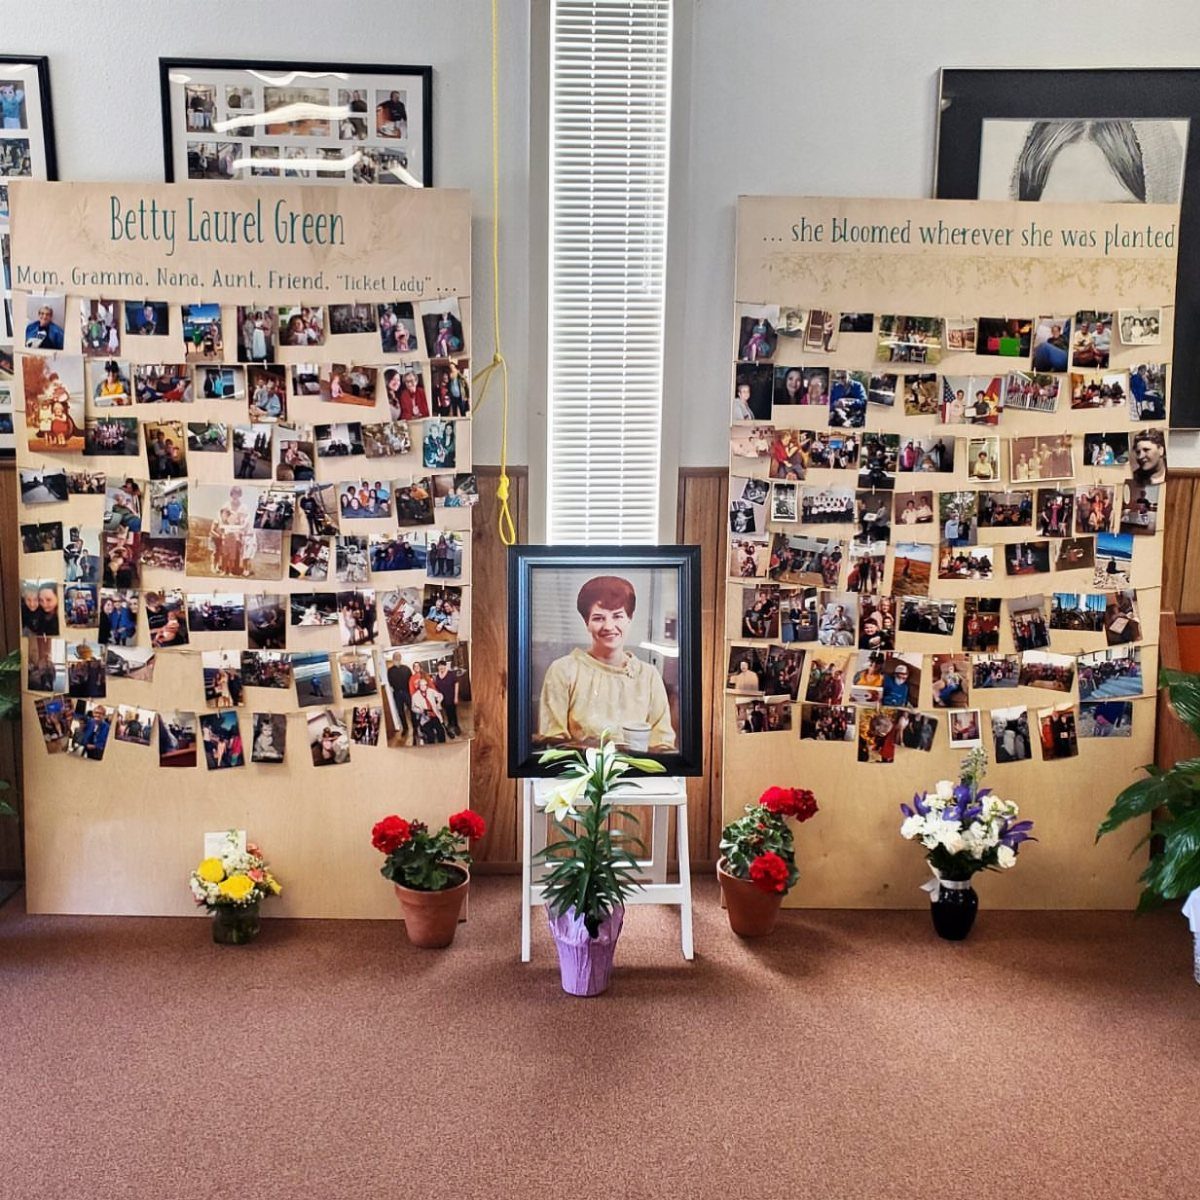
2 collage boards flanking a framed portrait give the display a clear center, and that balance is why I like this arrangement. Let the portrait carry the focus, then fill the boards with candid photos that span different years.
Rest the portrait on an easel and set potted flowers at the base, so the display looks finished from across the room. Plants can go home with family afterward, which saves you a cleanup decision.
Pick a spot against a wall, ideally with some breathing room around the boards, so guests can step up and look without crowding the entry.
4. Memorial Wall with Photo Shelves
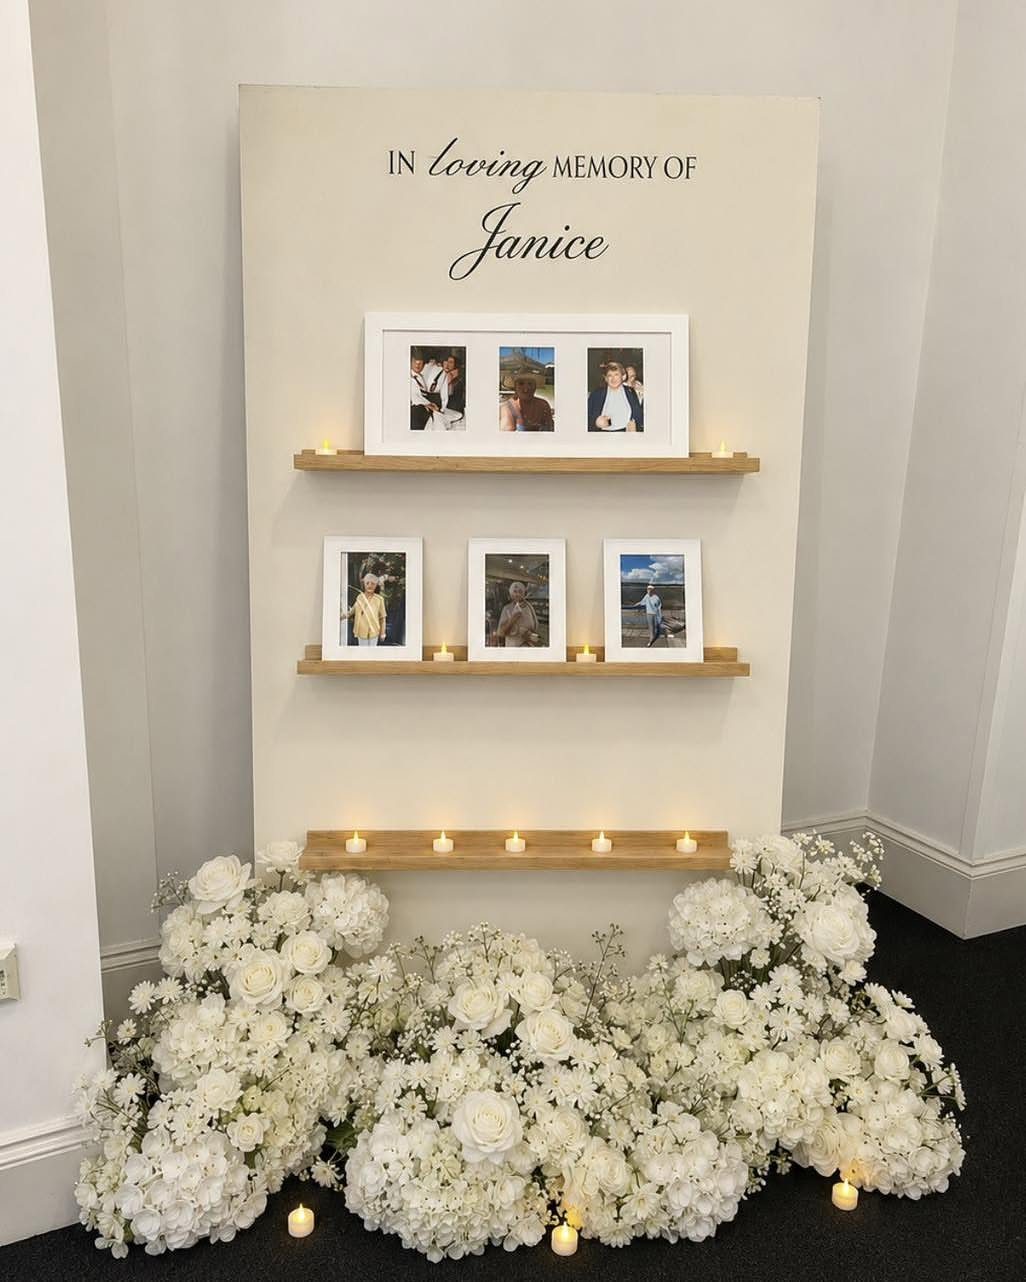
Floating shelves turn a blank wall into a gallery, and they let you show framed photos at different heights instead of pinning everything flat.
Lettering at the top, such as "In Loving Memory of" and the name, tells guests what they are looking at before they read anything else.
Use tea lights on the shelves between frames, and place floral arrangements on the floor at the base. White flowers keep the look calm and unified.
A freestanding wall suits rooms where you cannot drill or hang anything.
5. Hedge Wall Photo Board Backdrop
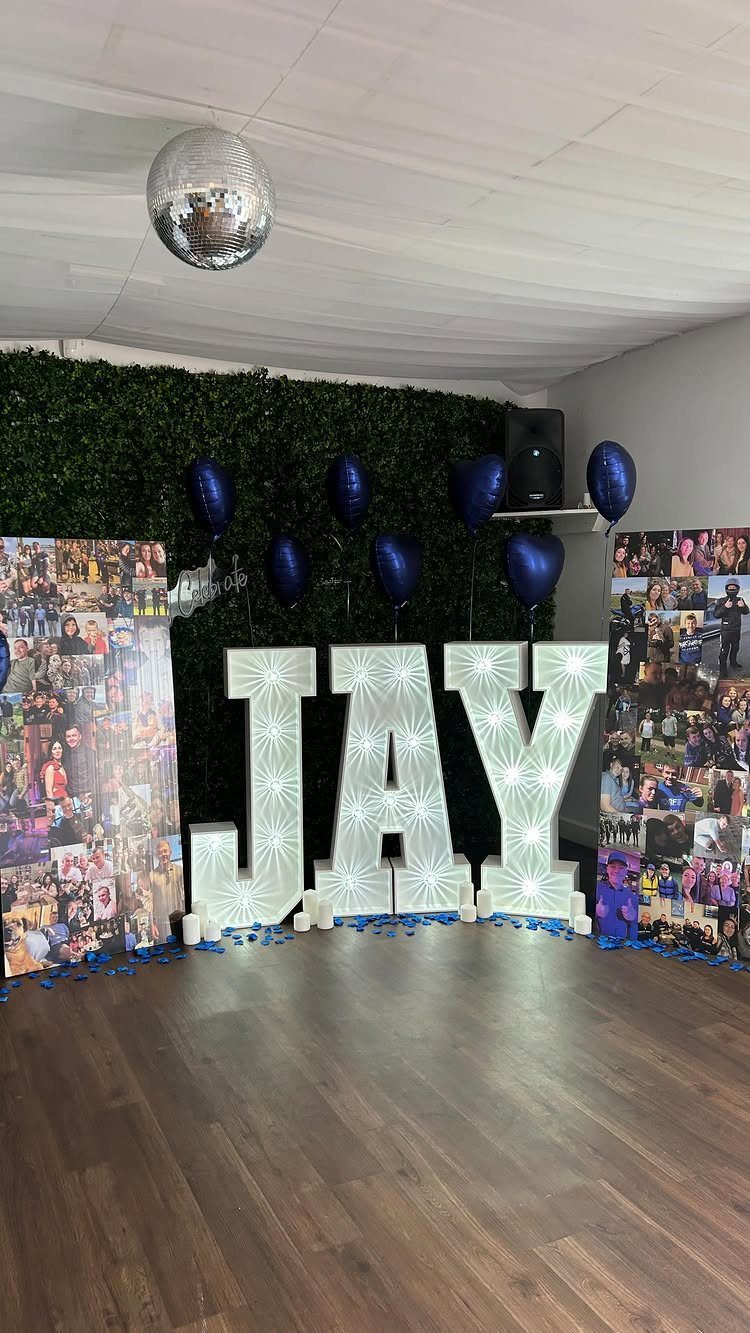
Lit marquee letters spelling the name turn a memory board into a backdrop, and a greenery hedge wall behind them makes the glow stand out. Balloons add color, which suits a celebration with a livelier mood than a quiet service.
Put one large collage board on each side of the letters so the photos sit at eye level. Keep the photo boards simple, since the letters and hedge already supply plenty of visual interest.
I would pick this for a party-style gathering, and skip it for a quiet one.
6. Shadow Box Keepsake Collage
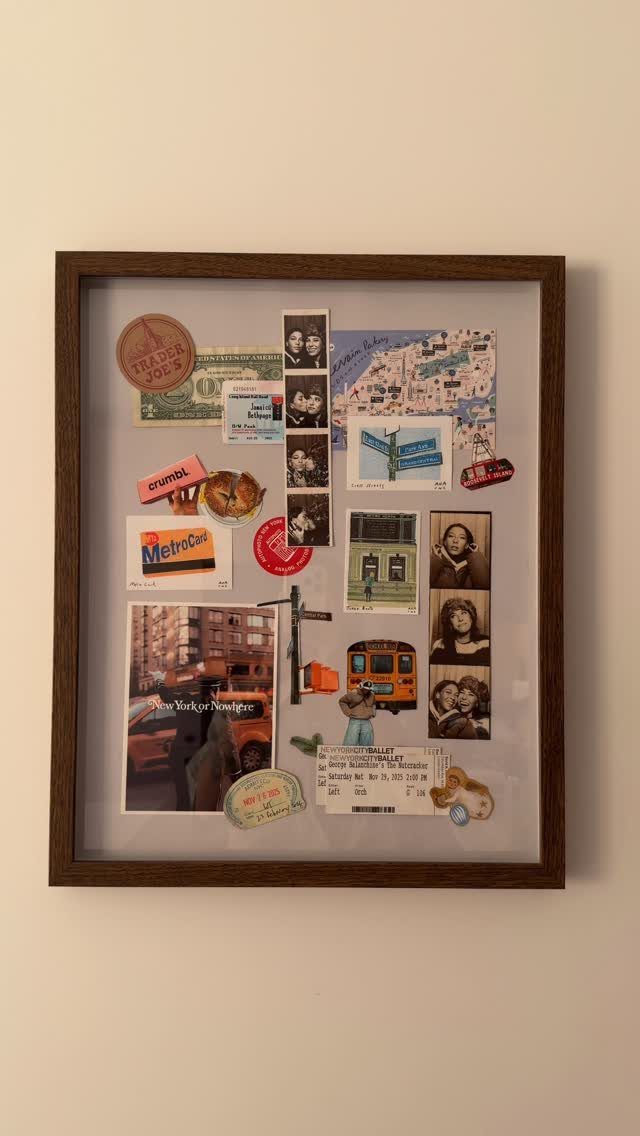
Small objects do what photos alone cannot, and a shadow box gives each one a place.
Arrange the largest items first, then fill gaps with photos and small keepsakes. Fix each piece with removable adhesive or pins, so family can take items out later.
One frame fits a small budget and a small table, and relatives can each make their own.
7. Film Strip Memory Boards
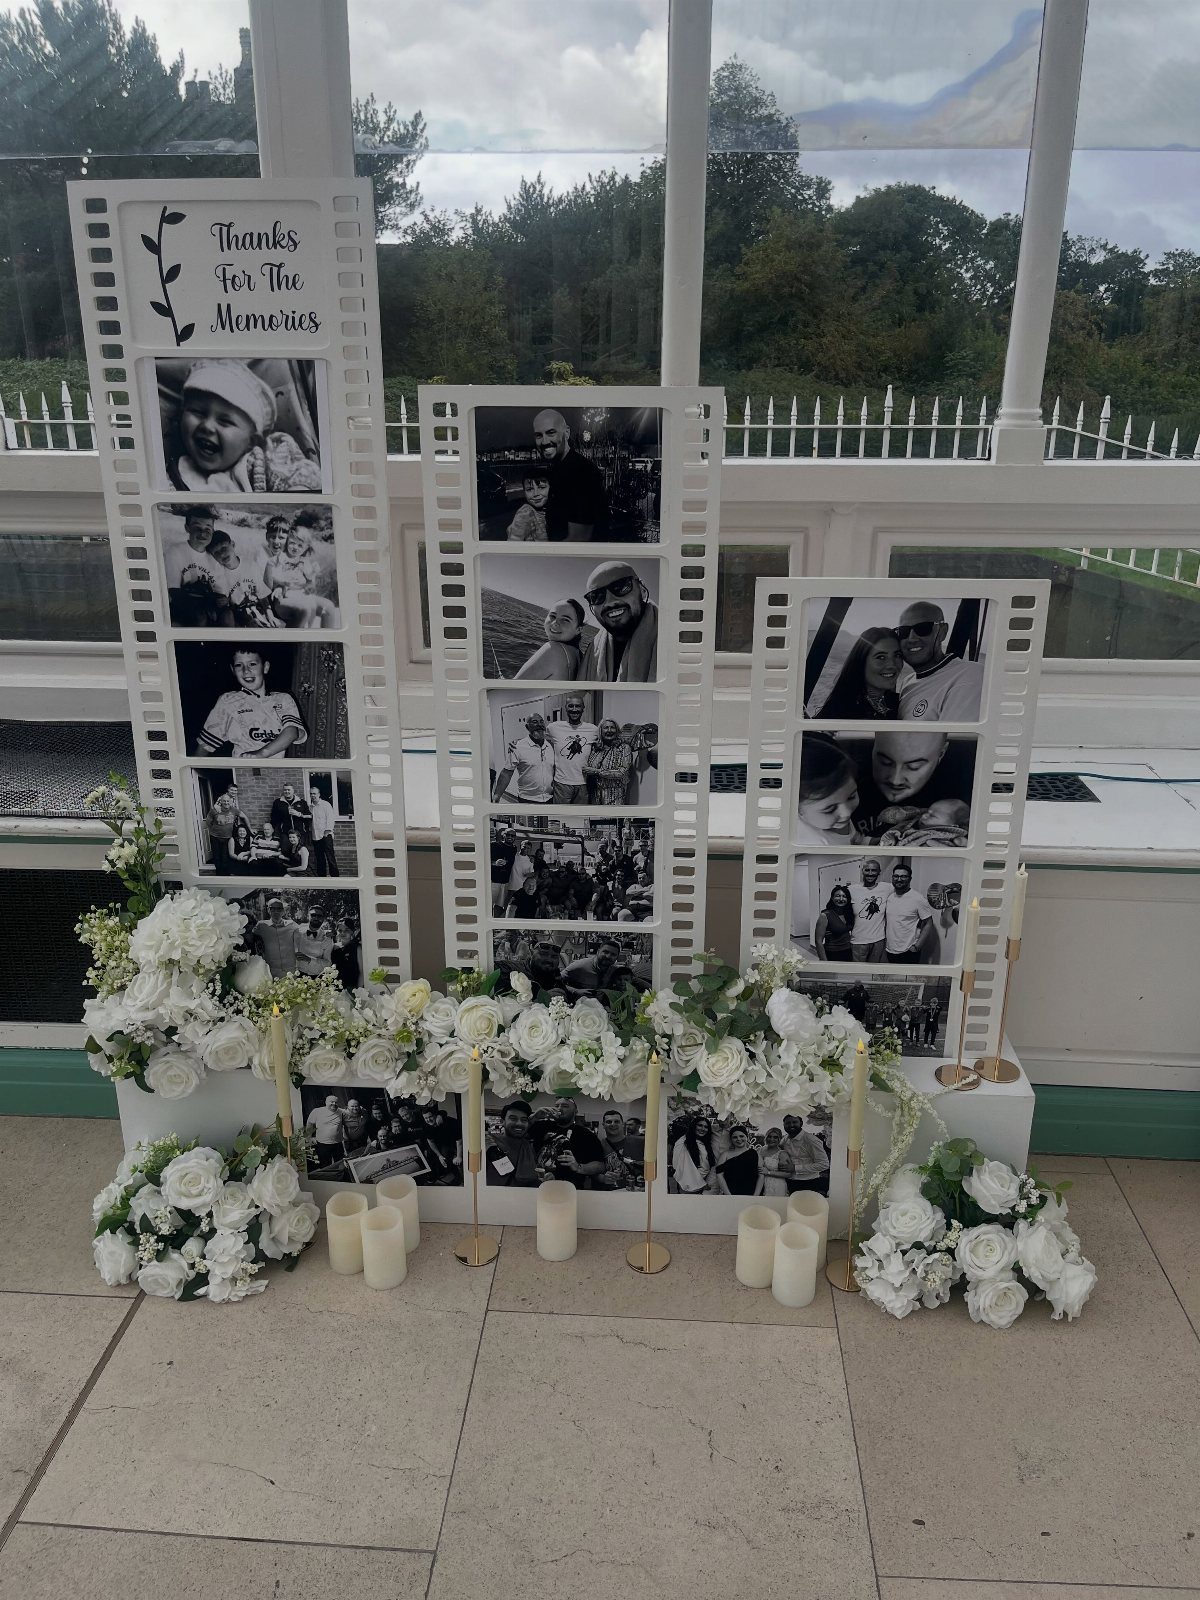
Black and white photos hold together as a set even when the originals come from different decades, and that is why film strip boards work so well for a mixed pile of snapshots.
Faded color prints, scans and phone photos all look like they belong once the color is gone.
Print everything in grayscale at one size, then mount the photos in a row down each tall board with even gaps, like frames on a roll.
A short line of text, such as "Thanks For The Memories," gives the display its title.
Set white flowers and candles at the base. Use battery candles if the room has children or drafts.
I would choose this for a family with many photos and no time to sort by color.
8. Themed Memory Board
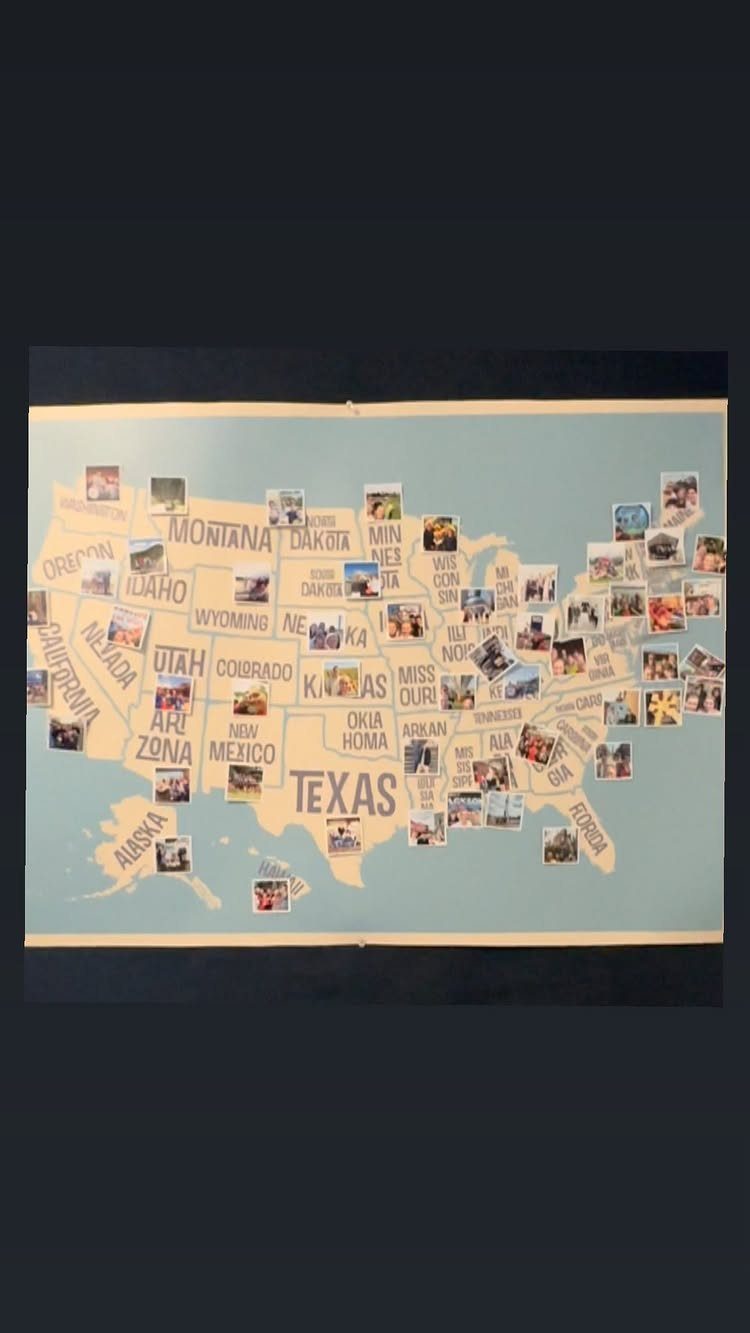
A map of the United States turns a pile of photos into a story of where someone lived, traveled and gathered with family. Pin each small photo to its state, and the board explains itself.
Print a map that connects to their life—a city they loved, a region they explored, places they called home—and use it as the base so photos and pins layer over geography that meant something.
Sort the photos by place first, then pin them. Small prints keep a crowded state, like Texas or California, from turning messy.
Add a short caption under each photo with the year or the occasion. Guests can then add their own memories in the right state.
This suits a person who moved often or loved road trips. It suits a homebody less.
Tips for Building a Memory Board
For the base, I go with 3/16-inch foam board or a cork panel, since either one holds pins and adhesive without bowing under the weight of 20 or 30 photos.
Pick one that won’t bow under the weight of photos and small objects.
Sketch the layout before gluing anything. Lay the photos out on the board, then decide whether they run by theme (family, hobbies, milestones) or in order by year.
Mix photo sizes and textures so the board doesn’t look flat. A few large prints with smaller ones around them give the eye places to land.
A small caption under each face, even just a first name and a relationship like "cousin Dan" or "college roommate," saves guests from guessing who is who.
Fragile keepsakes need care. Pin up color copies from a drugstore kiosk, which run about 40 cents each, and keep the irreplaceable prints safely at home in an envelope.
Once you like the arrangement, attach everything securely. Ribbons or stickers are fine as finishing touches, but add them last.
Integrating Memory Boards Into Events
A memory board works best as the first thing guests see. It gives people something to look at and talk about before the service starts, and that tends to bring out stories and laughter.
Treat the board as more than a one-day display. It can stay up afterward as an ongoing tribute, which is worth knowing when you choose materials.
You can also digitize it. Photograph or scan the finished board, then turn the images into a memory book or album that relatives can keep.
I would take those photos before the event, while the board is still untouched and the lighting is easy to control.
Displaying Memory Boards
Set the board along a route guests already walk, such as just inside the entrance, beside the guest book, or close to the altar, so nobody has to go looking for it.
Guests should be able to walk up and see it without asking where it is.
After the service, bring it home. Hung or set out in a quiet spot, it becomes a comforting reminder of the person it honors.
Some relatives won’t be able to attend. Anyone who can’t attend, or who wants a copy later, will appreciate a scanned version of the board, with the captions included, sent as a PDF or a shared album link.
Frequently Asked Questions
What to put on a memory table at a celebration of life?
Start with framed portraits and candid photos from different years, then add small keepsakes such as objects from hobbies.
A shadow box gives each object its own place, and white flowers or battery candles at the base keep the table calm. Short captions with names and relationships help guests know who is in each photo.
How can I create a DIY funeral picture board?
Foam board at 3/16 inch or a cork panel makes the best base, and either one carries 20–30 photos without bowing.
Before any glue comes out, arrange the prints on the board and settle on theme or chronology; once the layout feels right, stick them down. Mix large and small prints, and add captions last, along with any ribbons or stickers.
How many photos should I include on a memory board?
Plan on roughly 20 to 30 photos for a foam board or cork panel.
That count holds up on a sturdy base without bowing. A few oversized prints scattered among the small ones give a packed board a focal point instead of a flat wall of faces.
What size should a memory board be?
A standard poster or foam board size of 22×28 inches is a common choice.
Whatever size you pick, the base needs to be sturdy enough, such as 3/16-inch foam board, to carry 20 or 30 photos and small objects. Tri-fold boards stand on a table by themselves, so no easel is needed.
Can I create multiple boards?
Yes, and it often works well.
2 collage boards can flank a framed portrait, or tall film strip boards can split a large pile of snapshots between them. A shadow box also lets relatives each make their own.
How do I protect original photos on a memory board?
Color copies go on the board; the one-of-a-kind originals stay home in an envelope.
A drugstore kiosk will print copies for roughly 40 cents apiece. Use removable adhesive or pins on keepsakes so family can take them off the board later.